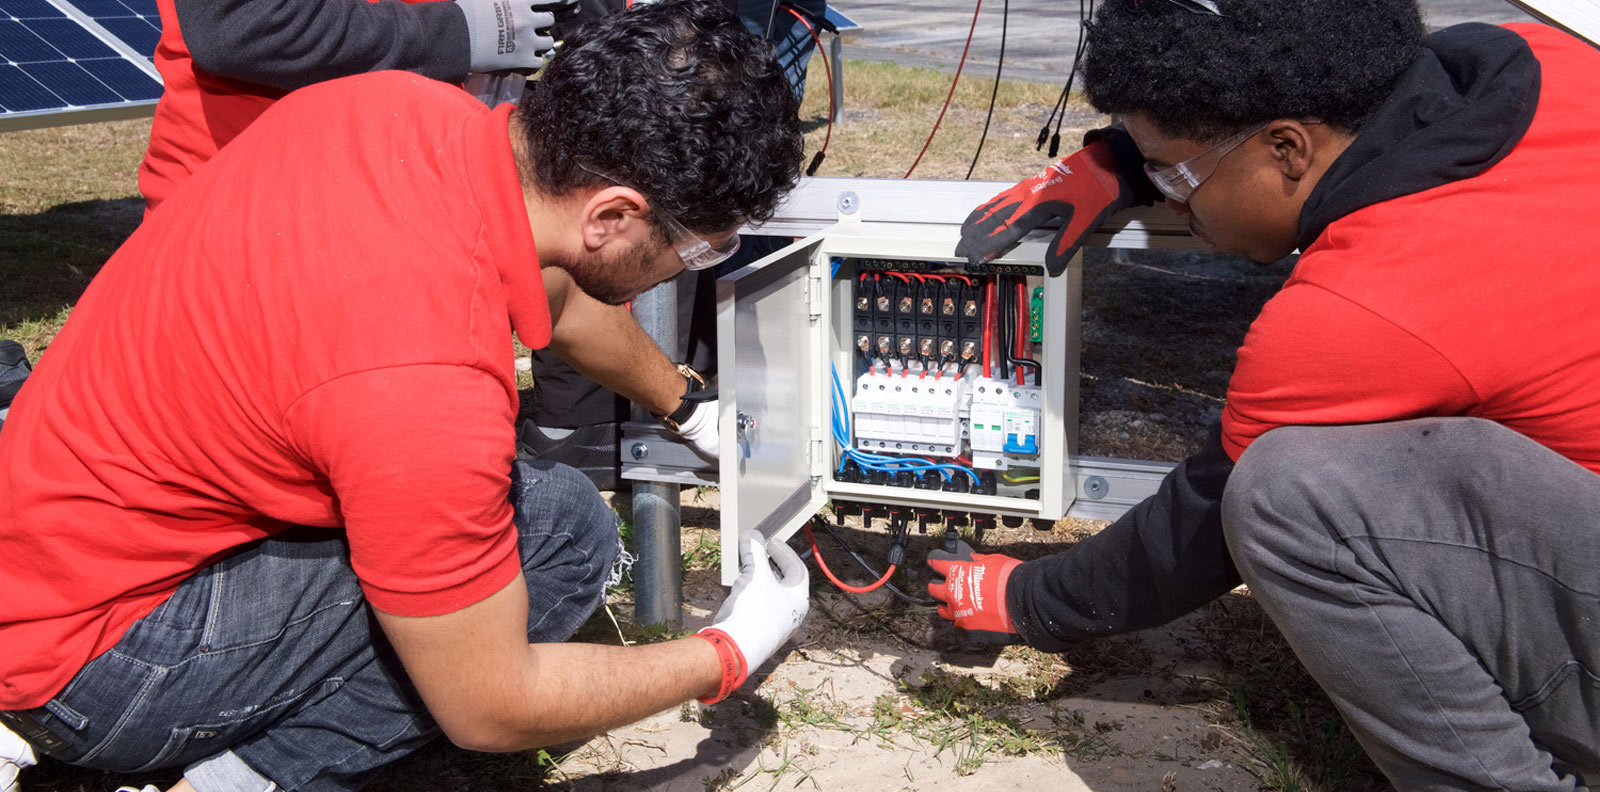
TWS is a Great Training Option for Everyone
Learn more about how we can prepare you to advance your career.
Striking an arc is the starting point for both stick welding (SMAW) and TIG welding (GTAW), and getting it right is one of the first hands-on skills new welders develop. In stick welding, the arc is started by touching the electrode to the base metal and quickly pulling back to establish a gap. In TIG welding, the process is more controlled, using either a scratch start, lift arc, or high-frequency start depending on the machine. Both methods require a stable arc length to produce a clean, consistent weld, and both take repetition to master.
What does striking an arc mean?
Striking an arc means to establish a welding current across a gap between the welding electrode and the base metal.1 When the electrode is brought close enough, electrical current jumps this gap, creating an intense, concentrated heat. This heat melts the electrode, the base metal, or both, resulting in a molten pool that fuses the metal pieces together. Mastering proper arc-striking technique is crucial because it directly influences the consistency, strength, and overall quality of the weld.
How to strike an arc in stick welding?
First, we’ll talk about how to strike an arc when stick welding. But first, let’s start with some stick welding best practices.
Have You Considered a Career in the Skilled Trades?
Fill out the form to recieve a no obligation info packet.
Stick welding can be a great process for young welders to learn because the equipment can be relatively inexpensive, and the process is often used at a host of different kinds of job sites.
However, because stick is a manual welding process, it can be more challenging than automatic techniques like MIG welding. This can make learning the basics of stick welding especially important, as they can serve as a foundation on which to build your arc welding skills.
Before even attempting to strike the arc, consider these steps for setting up a successful stick weld.

Step 1. Select the Right Machine
It’s important to start by selecting the right welding machine. Consider the duty cycle and amperage draw when choosing a power source. Portability needs and available power sources at the locations you’ll be working in, specifically the available voltage and whether single-phase or three-phase power, can be other factors.

Step 2. Choose the Appropriate Electrode
Which electrode should you choose? That depends on the type of metal you’re working with, your welding position and the welding specifications given for the job.
Popular Stick Electrodes
- 6010: for materials with rust or oil
- 7014: for clean surfaces
- 7018: for code work in industrial applications
Step 3: Setup Your Machine Correctly
Check the electrode packaging for the correct polarity to use. Beware that too high of a current range could cause spatter and too low of one could make striking and maintaining the arc a struggle.

Step 4: Strike the Arc Properly
The 4th step of proper stick welding setup is usually striking the arc.
Unlike in MIG welding, which has a button to start the arc, the stick welding electrode becomes live with the flip of the welding machine switch. This can make knowing how to strike a stick welding rod an important skill.
To start the arc, the circuit created between the neutral clamp and the hot rod must be completed. This is accomplished by momentarily touching the rod to the work, referred to as starting the arc.
Ideally, you should hold your arc length to between 1/8 inch and 1/4 inch from the work surface. If you hold your electrode’s tip too close to the surface of the workpiece, you risk the chance that the arc will end up buried in the molten metal, snuffing it out and requiring the arc to be restarted.
It’s a tricky process because moving too slow or too fast can result in welding the rod to the work. The two common ways welders get it done are tap starting and scratch starting.
Starting and Arc: Tap Start versus Scratch Start
In stick welding, you can use either a tap start or a scratch start to begin your arc.
1. Tap Start
Tap starting is used more commonly because of the reduced risk of having the rod stick to your workpiece.
To tap start your arc, you’ll need to sharply tap the tip of your rod against the work where you want to start the weld. This helps to remove excess flux from the rod’s end.
You’ll need to use a sharp wrist action to allow momentary contact with the workpiece, then you’ll pull the rod a short distance away.
You’ll notice the light from the arc starts out very bright because the initial arc length is too long. However, this length is quickly reduced to the proper distance when you begin welding.
Many welders find it’s much easier to start the rod on the second attempt, starting the arc initially on scrap material before you start the arc at the beginning of your weld.
2. Scratch Start
Another option you can consider when starting your weld is a scratch start, which has its own advantages in specific situations.
Scratch the rod against the work. You’ll begin to see sparks, at which point you’ll lift the rod. Many welders use a backward and forward scratching motion to remove the flux coating on the rod. By limiting the motion of your scratch start, you’ll get an arc starting close to where you want to begin welding.
Because it relies on human reaction times, using a scratch-start technique can have more issues with the rod sticking to the work surface. However, it may be a good technique to keep in your toolkit when you’re dealing with rods that are hard to start or when you’re working with AC welders or welders that have lower open-circuit voltage, which tends to make the tap-starting technique difficult.
Learn how to Stick Weld, MIG Weld, and TIG weld
Now you know more about proper stick welding setup, including the two main ways to strike the arc.
Want to learn more about stick welding, MIG welding, or TIG welding? Consider enrolling in our welding training program today, or contact Tulsa Welding School to get started. Call 855-806-4921.
This blog has been labeled as archived as it may no longer contain the most up-to-date data. For a list of all current blog posts, please visit our blog homepage at https://www.tws.edu/blog/