TWS is a Great Training Option for Everyone
Learn more about how we can prepare you to advance your career.
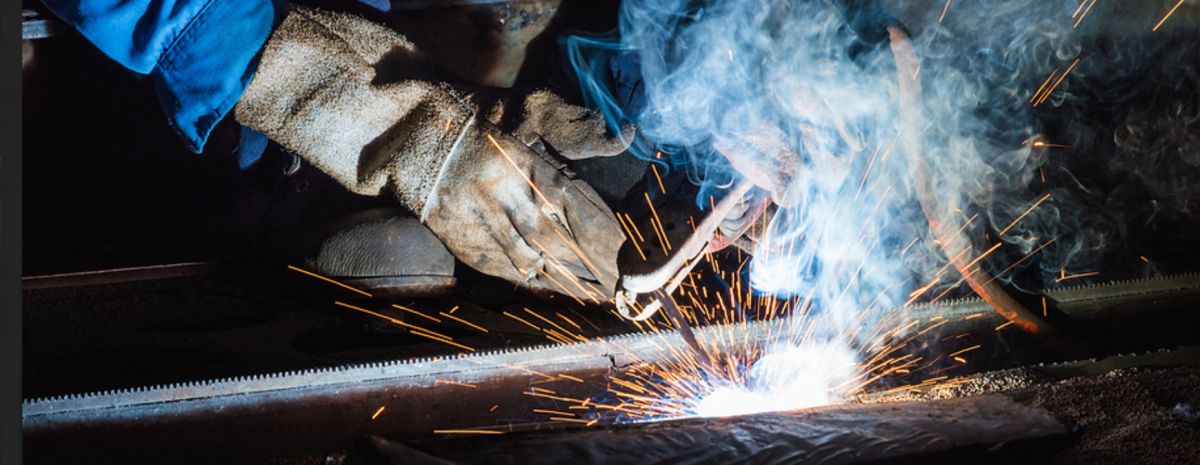
What’s the most common type of arc welding?
Shielded metal arc welding, also known as “SMAW” and “stick welding.”1,2
The widespread use of stick welding is a bit surprising, given the process isn’t that easy to learn. Many students in welding training may need a good amount of practice before they can weld a reliable joint.1
Proper setup is also key.3 Try these 6 tips for better stick welding next time you practice in the welding lab.
Have You Considered a Career in the Skilled Trades?
Fill out the form to recieve a no obligation info packet.
- Welding Safety4
- Metal Selection2
- Metal Preparation1
- Electrode Selection3
- Electrical Connection1
- Welding Position1
Greater Stick Weld Success in 6 Steps
1. Welding Safety
Welding safety comes first. Follow safety procedures carefully every single time you weld.4
As you likely learned in your welding classes, wearing the right clothing and gear is an important part of welding safety.4
Below are some examples of the kinds of clothing and equipment that help protect you while fusing metal:4
- Long-sleeve shirt or leather welding jacket
- Welding helmet and leather welding gloves
- Long pants made of non-flammable materials
- Fire-proof shoes or leather boots4
Choose cotton or leather clothing, as they’re not flammable like some other materials. You also want to make sure you weld in a well-ventilated area.4
2. Metal Selection
Stick welding usually works best with steel.2
Select steel that’s in what’s called the “normal range.” Steels in the normal range have a maximum of 0.1% silicon and no more than .035% sulfur. You may find them listed as AISI-SAE 1015 to 1025 steels.2
If you choose a type of steel above the normal range, it’s likely to crack while you’re welding. It’s also best to avoid steels that have high phosphorus or sulfur content.2
3. Metal Preparation
While it’s true that stick welding can work on metal that’s rusty or dirty, you’re not going to get the same quality weld you’d get on metal that’s properly prepared.1
Remove all rust, dirt, oil, grease, dust and grime from the metal area you’re going to be welding. A wire brush and grinder are good tools to use for prepping the metal. You’ll also want to clean the area where you’ll position the clamp.1
4. Electrode Selection
The electrode is the stick you’ll be using to create the weld, and there are many electrodes from which to choose.4
Electrodes are classified by a four-digit number or the letter E and a four-digit number. The letter E stands for “electrode,” but some manufacturers have stopped using the E.4
The first two numbers of the electrode refer to the strength of the metal used in the electrode. The second two numbers refer to the flux of the electrode, or the amount of flux, metal or shielding deposited when you make a weld. That means a 7018 electrode has 70,000 pounds of tensile strength per square inch of weld, and it deposits a substantial amount of coating. A 7010 electrode would deposit less coating.4
The 7018 electrode is typically the go-to electrode for most stick welding. It works well in all positions on clean metal to produce an attractive weld.4
5. Electrical Connection
In addition to the electrical current running to the welding machine, pay attention to the current running through the metal from the clamp.1
The welding machine clamp must be positioned on the metal piece you’re welding. The area where the clamp sits must be clean to ensure a solid electrical connection. A solid connection helps to maintain a quality arc, which can result in better welds.1
6. Welding Position
Position is another factor in successful stick welding. You want to pay attention to your body and head positioning, as well as the position of the electrode, when welding.1
- Position your body so you have a stable stance and a clear view of the weld puddle, keeping your head off to the side.
- You want to keep your face out of the path of the weld fumes while keeping an eye on your weld.
- Watch the weld puddle, making sure you’re welding in the joint and keeping the arc on the front edge of the puddle.1
When welding in a horizontal, overhead or flat position, use a drag welding technique. Start by holding the electrode at a 90-degree angle to the joint, and then tilt the top of it toward you at a 5 to 15-degree angle.1
For vertical welding upward, use a push welding technique, with the electrode angled 0 to 15 degrees downward.1
Watch Out for Beginner Mistakes
It may still take some practice to get a good stick welding joint but following these six setup tips could help.1
Avoiding these beginner’s welding mistakes may also lead to more successful stick welds.
1https://www.millerwelds.com/resources/article-library/five-steps-to-improving-your-stick-welding-technique
2https://www.lincolnelectric.com/en-us/support/welding-how-to/Pages/high-quality-stick-welds-detail.aspx
3https://www.millerwelds.com/Training/PresentationsQuizzes/IntroToWelding/Welding10/presentation.html
4http://gowelding.org/welding/stick-smaw/#content
This blog has been labeled as archived as it may no longer contain the most up-to-date data. For a list of all current blog posts, please visit our blog homepage at https://www.tws.edu/blog/