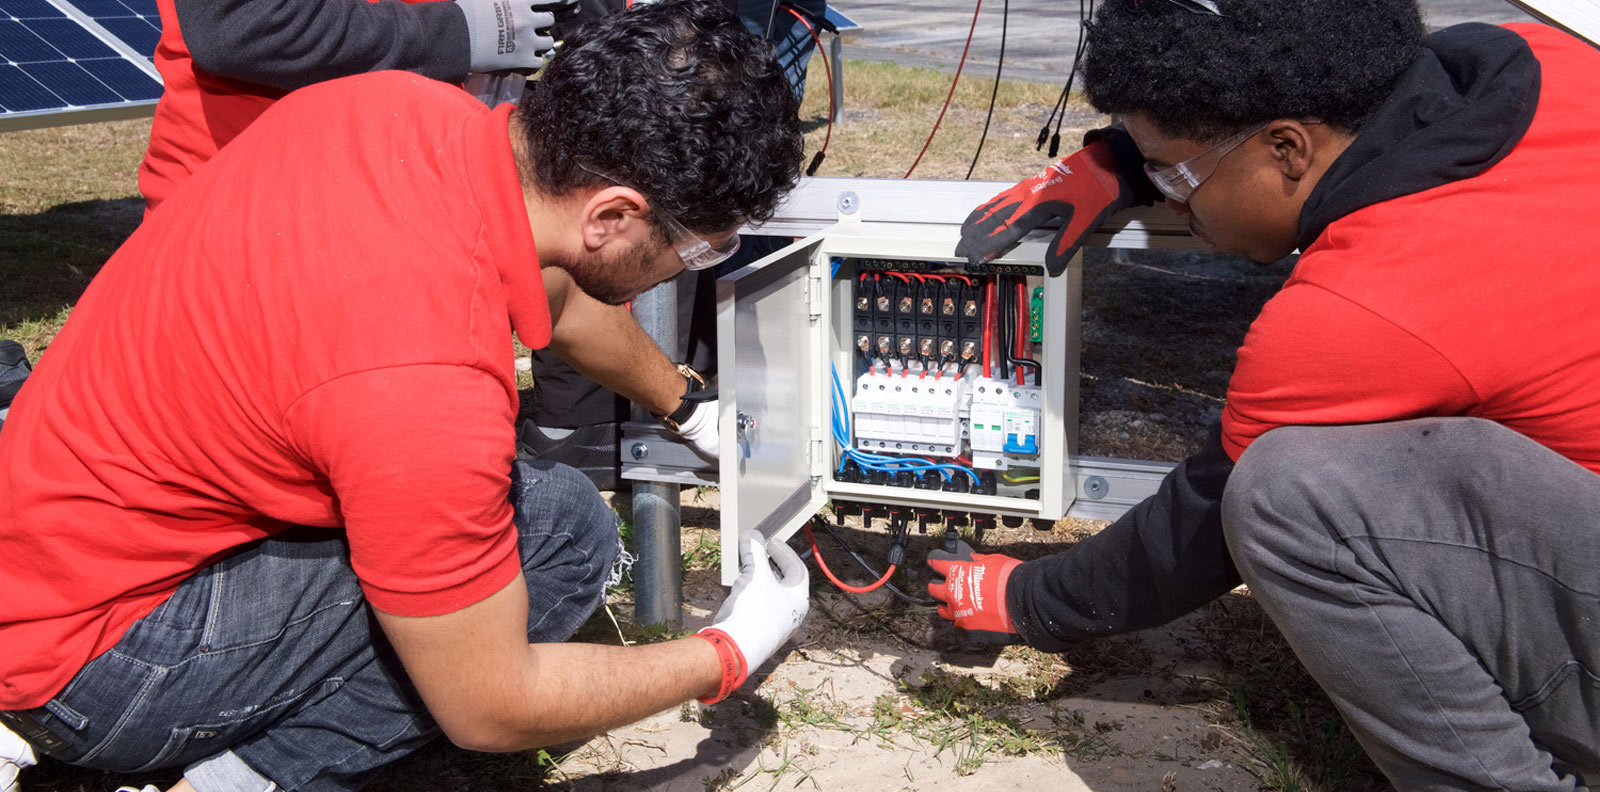
TWS is a Great Training Option for Everyone
Learn more about how we can prepare you to advance your career.
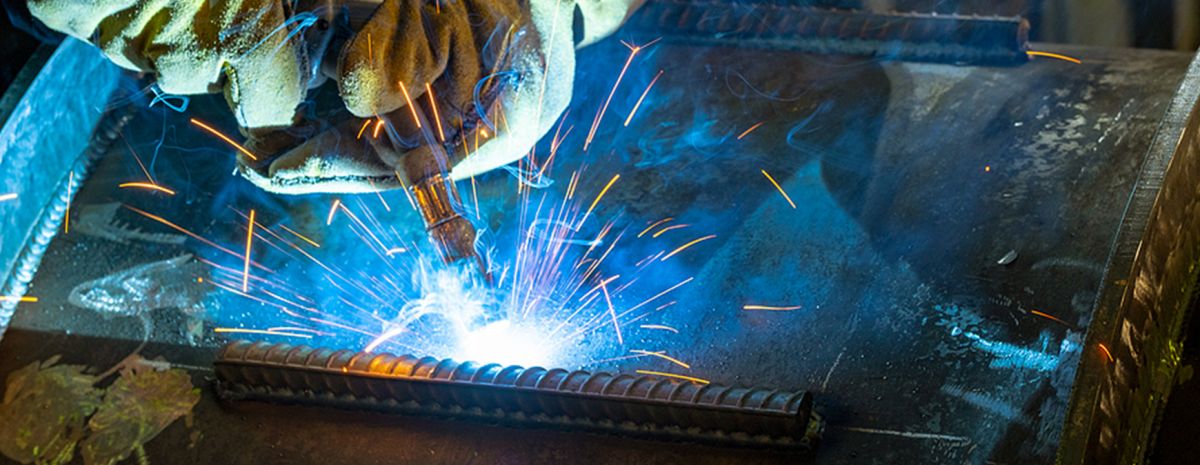
MIG welding (Metal Inert Gas welding), is often the first type of welding people learn when they are beginning to weld. It can be one of the easiest welding techniques, as well as one of the most affordable, portable and versatile.
If you’re just getting started with MIG welding or already enrolled in welding classes, the following 5 MIG welding tips for beginners will help you build confidence and start laying clean, strong welds.
Basics of MIG Welding: Good vs. Bad Welds
As you begin to learn the basics of MIG welding, understanding what a good weld looks like is key. Welds are judged by consistency, appearance, and strength.
There are many different types of weld beads, including stringer beads, weave beads and whipped beads. No matter what kind of bead, experienced welders are usually familiar with what a clean, strong weld looks like.
Have You Considered a Career in the Skilled Trades?
Fill out the form to recieve a no obligation info packet.
In general, a good weld can have the following characteristics:
- It’s uniform in width.
- The ripples are evenly feathered into the base metal.
- The weld has good penetration.
- There are no signs of gas pockets, porosity or inclusions.
- Signs of burns due to overheating are absent.
Instructors in the Tulsa Welding School can demonstrate good welds for students to witness.
Bad welds, on the other hand, may have the opposite qualities:
- They may lack uniformity along the weld.
- Bad welds can be too thin.
- They can show cracks down the middle or display discoloration on the base metal.
Bad welds are often the result of an incorrect bead profile, lack of fusion, poor wire delivery or too much porosity.
Learning to identify good vs. bad welds is one of the most important MIG welding techniques for beginners.
5 Beginner’s Tips for Making a Good MIG Weld
Whether you are thinking of taking a welding class, want to build your knowledge base or just need a refresher, here are 5 introductory tips for making a good MIG weld:
1. Get Comfortable with Your MIG Welding Gun
- When you are just starting out, holding a welding gun may not yet be familiar territory.
- Begin by holding the gun to get comfortable with its weight and position. Rest the barrel in one hand and place that hand on the table, while the other hand operates the trigger.
- The wire should meet the weld at about a thirty-degree angle. Stand in a comfortable position with good posture, and practice moving the welding gun back and forth over the work surface.
- Practice touching the wire very lightly to the surface, and gently pull the gun toward you in a steady motion at an even rate. Then, when you are ready, squeeze the trigger and repeat the motion with the welder on.
2. Clean Your Metal Surface Before Welding
- This is very important because one of the most common reasons for bad MIG welds is porosity, which can be caused by a dirty, oily surface. Contaminants can get trapped in the weld, creating holes like a sponge.
- So, to prevent porosity, always clean your work surface, which may involve removing paint, dirt, oil or rust, and grinding out the cracks in the surface. Another way to prevent porosity is to use a deoxidizer in your wire.
3. Use a High-Quality Ground Clamp
- A solid electrical ground is essential for clean MIG welds. Use a copper ground clamp for the best conductivity. Poor-quality clamps can cause erratic arcs or even damage your welding machine.
Make sure the ground clamp is firmly connected to clean, bare metal and is placed close to your weld for best results.
4. Adjust Your MIG Welder Settings
- You should adjust your welding machine every time you set up to weld. First, look at the chart on the welding machine and adjust the voltage and wire speed to the thickness of the metal you are welding. While your machine will give you a rough guide, your settings should be adjusted to the weld you see.
- So, you may need to make a few practice welds on scrap metal to test the wire. If the wire is feeding too quickly, it will spit. In that case, try turning your wire speed down or turning the voltage rate up. If the wire is burning back to the tip or producing a glob, turn the voltage down or the wire speed up.
5. Read Your Weld Bead for Feedback
- Your weld bead gives clues about your setup:
- A convex (bulging) bead means your weld is too cold → increase heat or adjust angle
- A concave (sunken) bead could mean you’re applying too much heat or moving too fast
- Adjusting your welding angle by just 5–10 degrees can significantly improve penetration and bead shape. Learning to read your weld is a key part of progressing in MIG welding for beginners.
MIG Welding Training & Practice
These 5 tips cover some of the most commonly taught lessons when learning MIG welding, but there are plenty of other details to consider as you progress.
You will also want to make sure you use the right welding gas, choose the correct wire, listen to the sounds of your welder and more.
Most importantly, the best way to learn how to MIG weld can be to practice and learn from those with more experience. So, you might consider taking some welding classes, especially if you’re interested in learning other welding processes. Welding school can be a great place to learn the fundamentals of welding.
1 https://welderslab.com/how-to-make-strong-mig-welds-a-beginners-guide